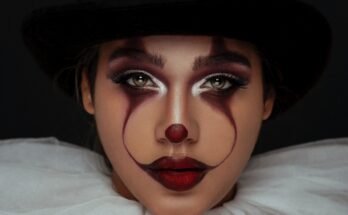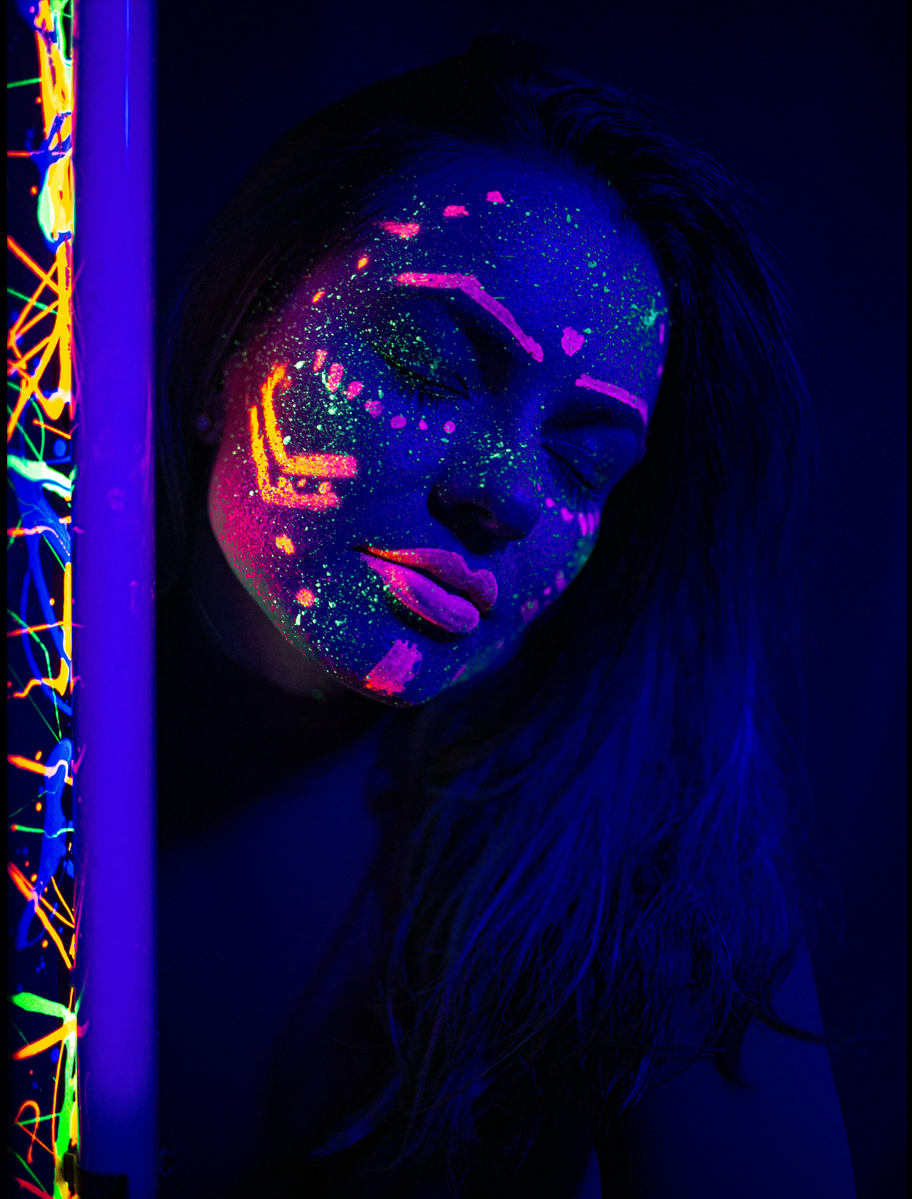
Every year has one Halloween makeup look that photographs itself — and for 2026, it's neon. UV-reactive pigments, electric greens, hot pinks and violets that ignite under blacklight have become the go-to for party nights, from clubs to backyard bashes. The best part? You don't need heavy SFX face paint or pro skills. A dark base, a few neon pigments placed in the right spots, and you're the brightest face in every photo.
Why Neon Makeup Wins Party Night 2026
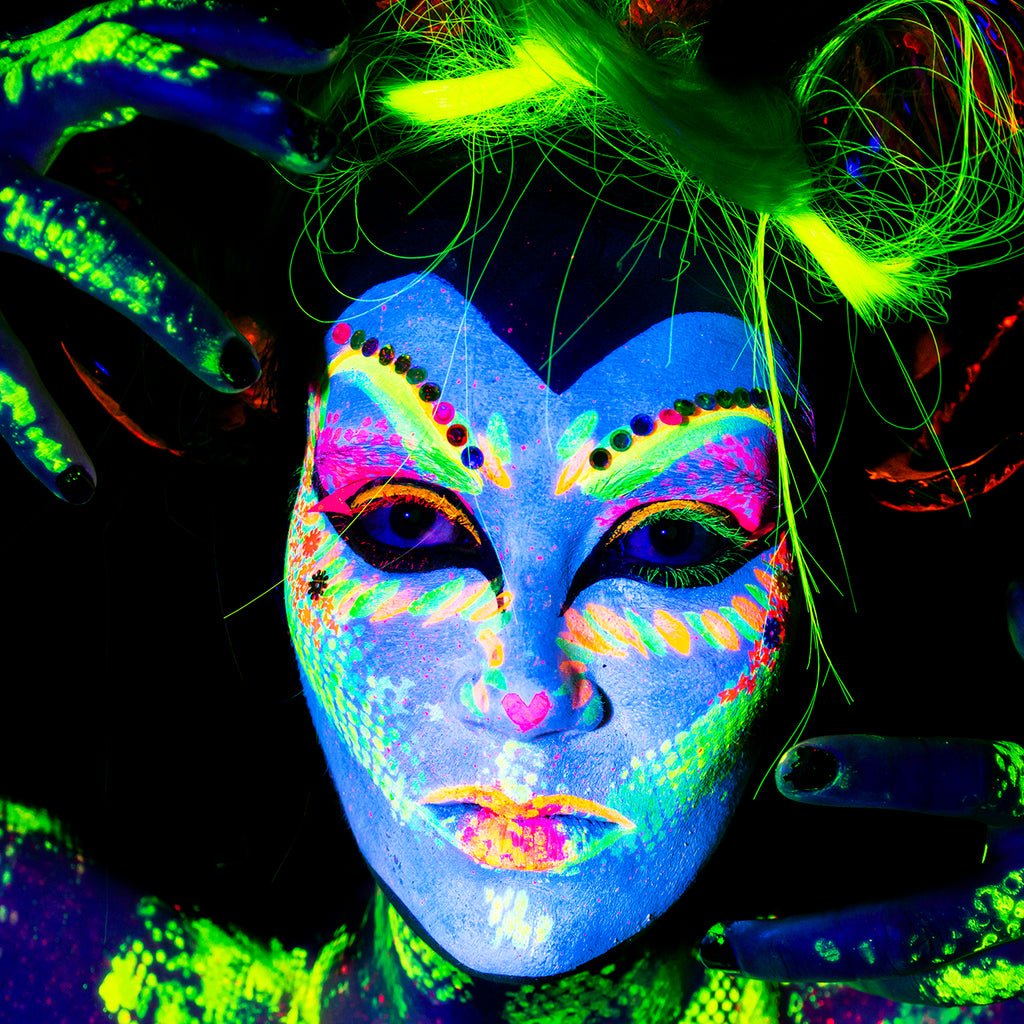
Neon and UV-glow accents are trending everywhere this year because they do something almost no other Halloween look can: they get brighter when the lights go down. Under blacklight, neon pigments practically ignite — electric green cheekbones, glowing lips, and luminous eye lines that read clearly in dark, moody party photos.
Unlike full-face SFX looks, neon makeup is beginner-friendly. You're working with bright color on a dark canvas, which means small mistakes disappear into the glow. It's also one of the fastest statement looks to build — most of the versions below take under 30 minutes.
Your Budget UV-Reactive Kit
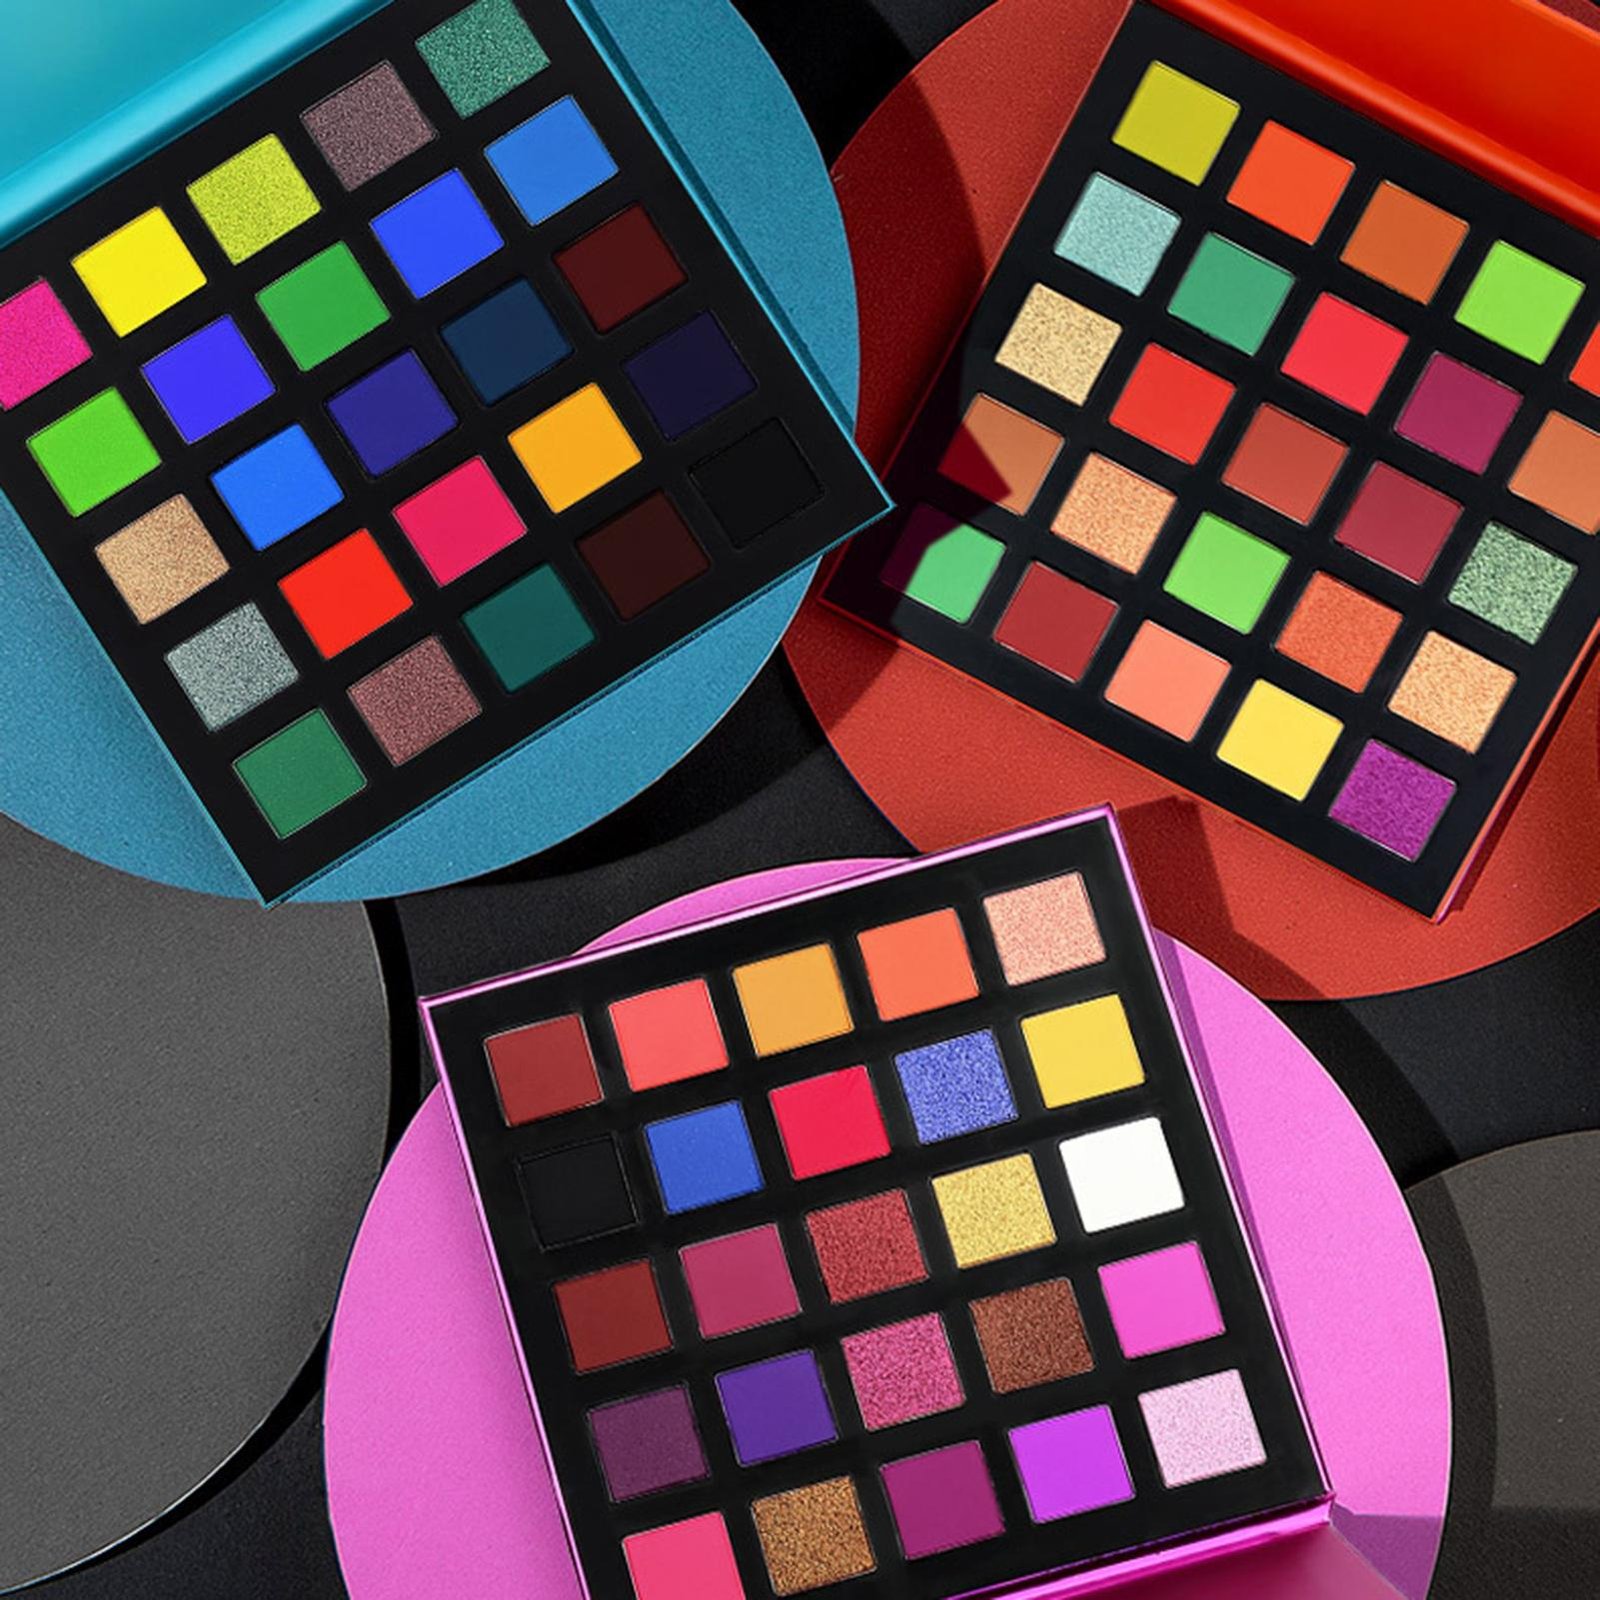
You don't need a pro kit. The core shopping list is short: a neon pigment palette (look for shades labeled UV-reactive or blacklight-reactive), a neon liquid liner in at least two colors, and a deep base — a dark purple or black cream shadow works perfectly as your canvas.
Round it out with what you already own: black mascara, a setting spray, and a cheap handheld UV flashlight or blacklight bulb (a few dollars online) so you can check your glow before you leave. Skip anything with chunky glitter for the glow zones — fine pigment reflects blacklight more evenly.
Step 1: The Dark Canvas Base
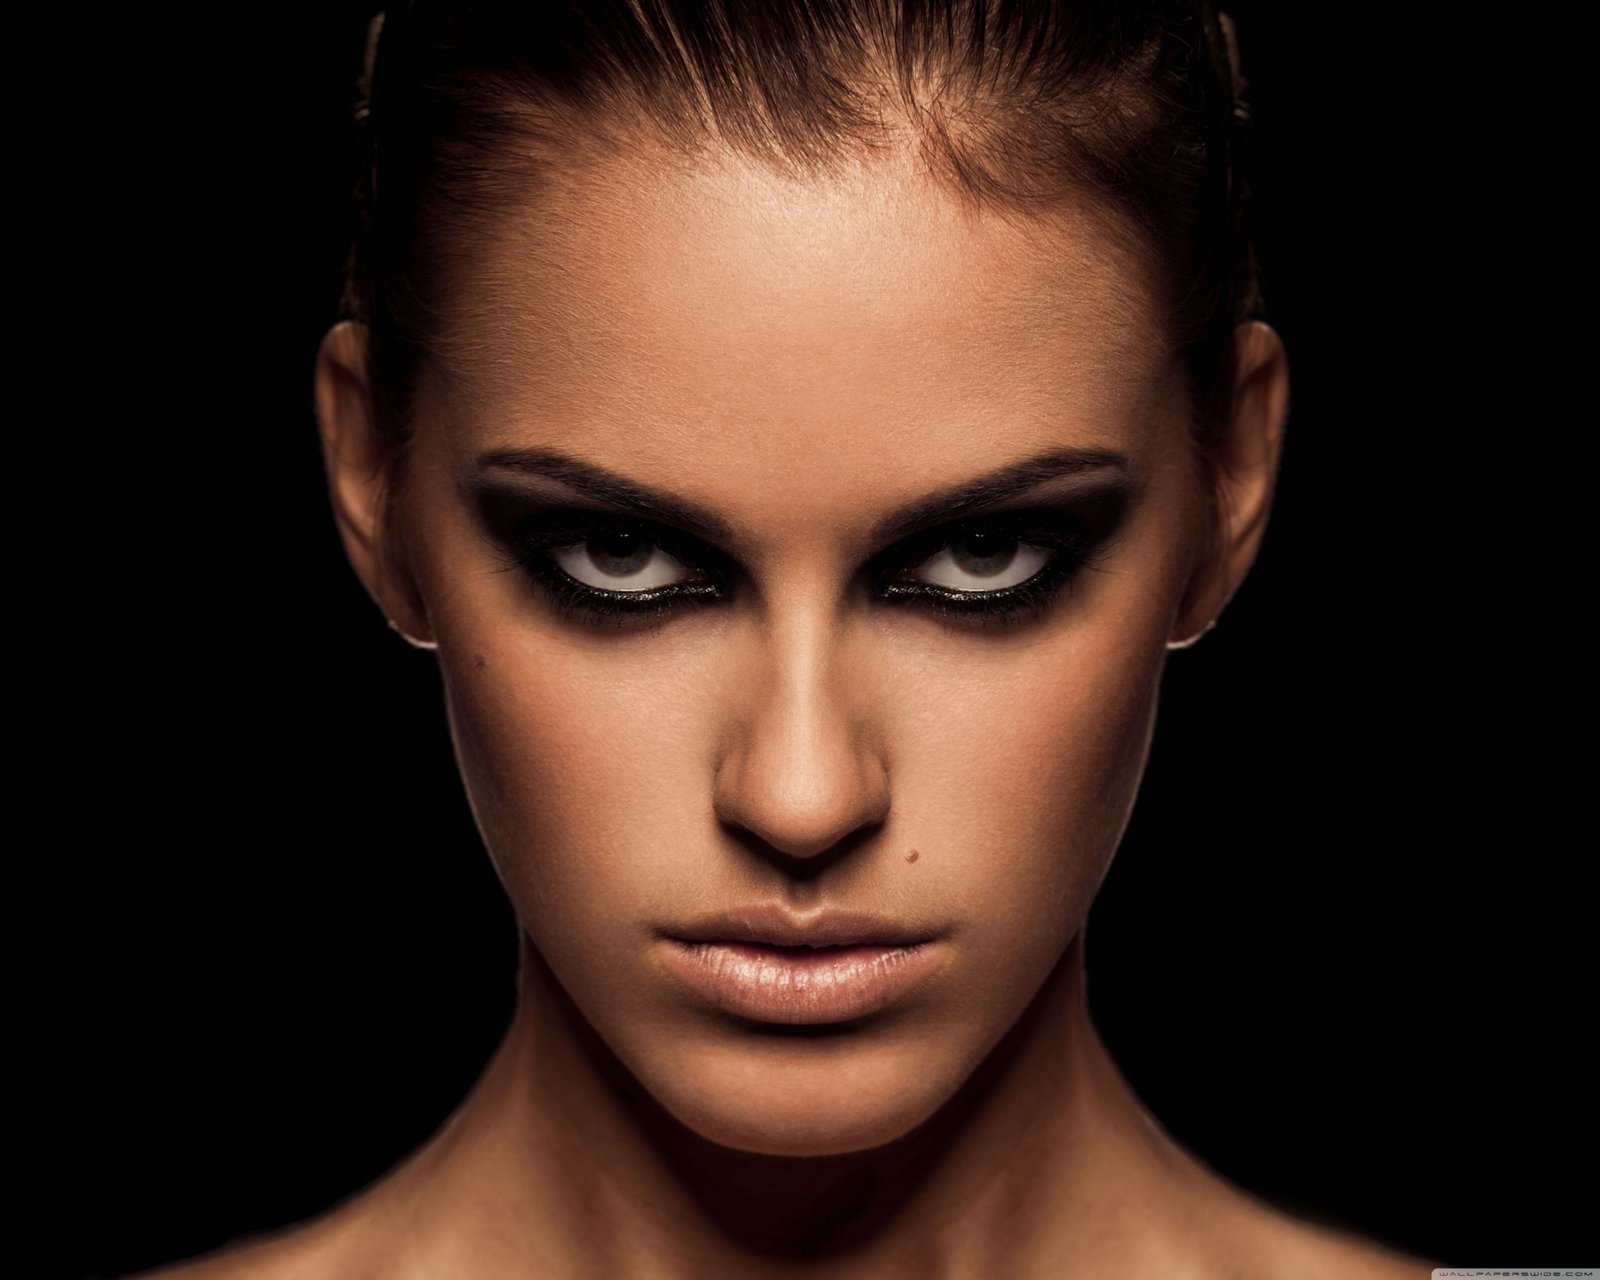
Glow needs contrast. Start with a dark base everywhere the neon will sit — deep plum or matte black across the lids, a smoked-out lower lash line, and a soft contour in a cool brown through the cheekbones. Blend it well; harsh edges fight the futuristic vibe.
Set the base lightly with translucent powder. The darker your canvas, the more electric your neon lines will look under blacklight — this one step is what separates a neon look that pops from one that washes out.
Step 2: Neon Placement — Eyes, Lips, Contour Streaks
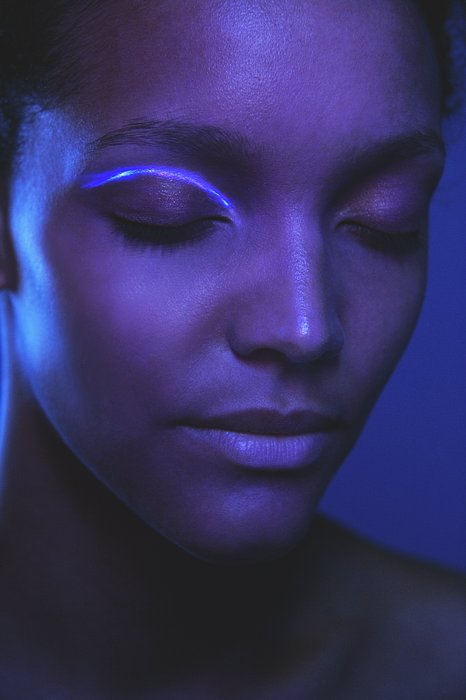
Now the fun part. With a damp detail brush, press neon pigment along the upper lash line in a sharp wing, then mirror a thinner line under the lower lashes. Add a streak of a second neon shade through the crease or across the cheekbone contour line — these streaks are what read as 'glow lines' in photos.
For lips, fill with a neon liner then press matching pigment over the center. Electric pink, lime green and violet are the three shades that glow hardest. Keep the rest of the face minimal — the neon is the whole statement.
Step 3 (Optional): Neon Skeleton Line Work
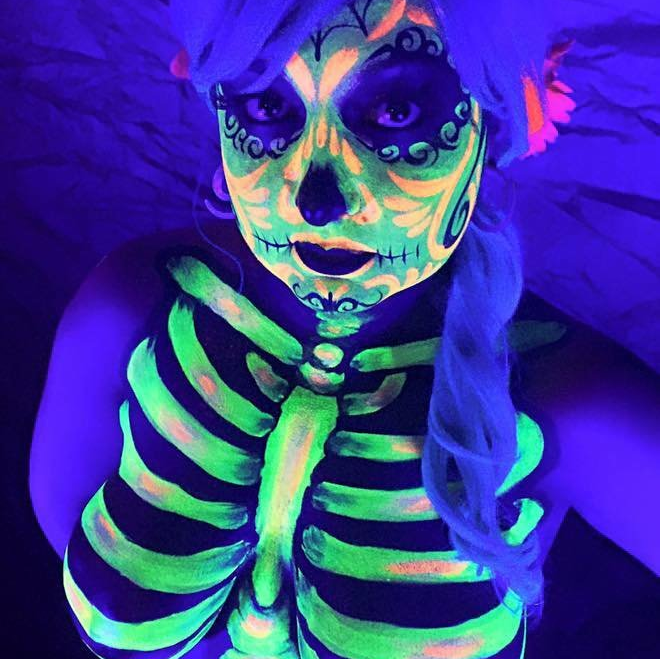
Want the viral version? Add neon skeleton line work over the dark base. Trace fine neon lines from the temples down the jawline to suggest a glowing skull outline, add thin vertical ticks across the lips like stitched teeth, and dot a neon triangle at the nose. Under blacklight, the lines light up like a circuit board.
Keep the lines thin and deliberate — one confident stroke beats three sketchy ones. This is the look party photographers chase, and it's the version most likely to land you in someone's 'best Halloween looks' roundup.
The Phone-Flashlight Wear Test + Setting
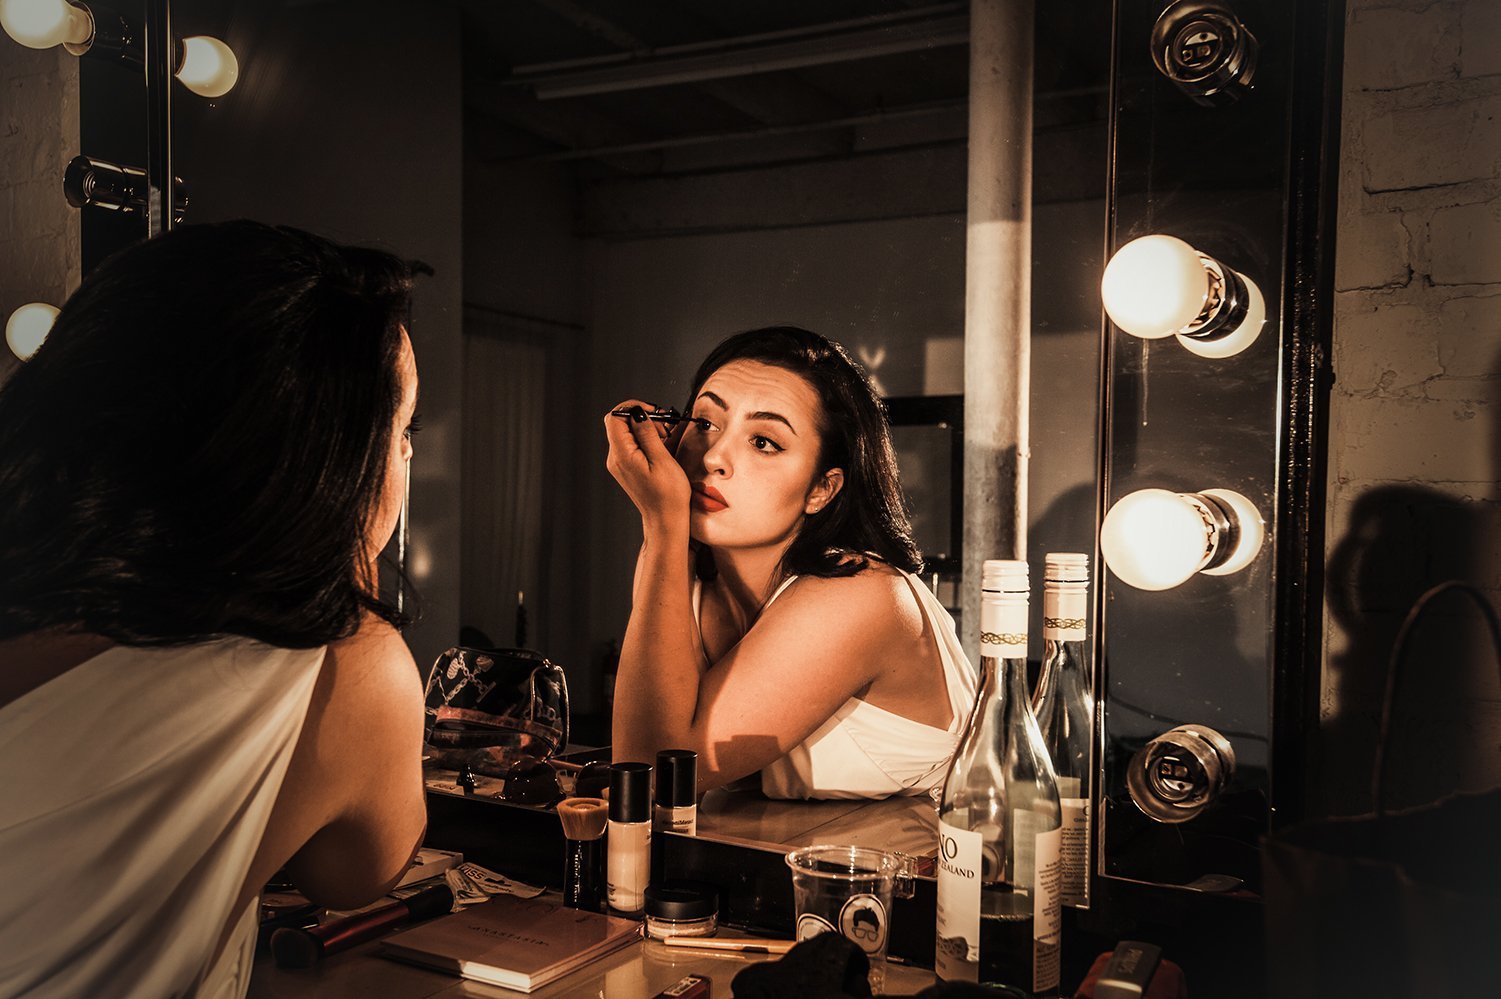
Before you head out, do the phone-flashlight test: in a dark room, shine your phone's flashlight (or your UV light) across your face. Any patchy spots or uneven pigment will show immediately — press a little more product into thin areas and re-blend.
Lock it in with a generous mist of setting spray, then a second light pass after it dries. Neon pigments can fade with sweat, so stash your liner in your bag for touch-ups. Check once more under real blacklight if your venue has it — and then go be the brightest thing in the room.